Auto-Invoice Tab
Auto-Invoices are recurring invoices sent to accounts which have been set up for automatic invoicing. Follow the steps below, to set up an account for auto-invoicing.
Navigate to Cashiering > Auto-Invoice.
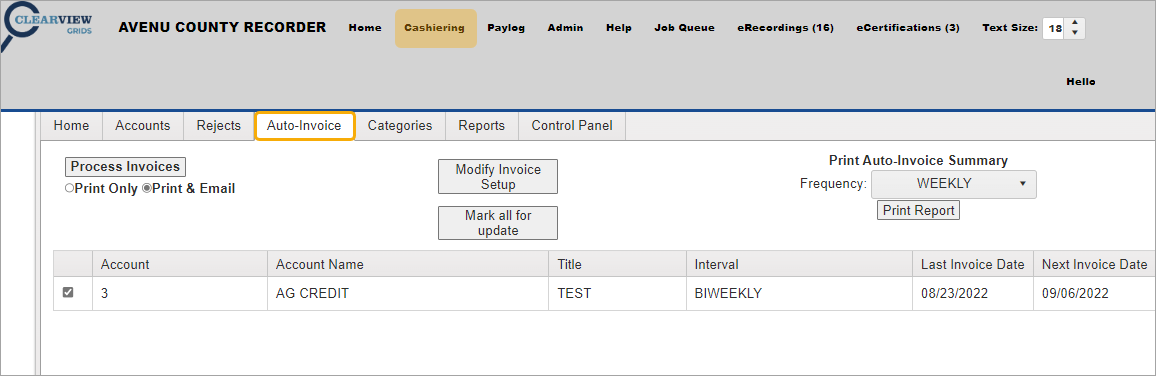
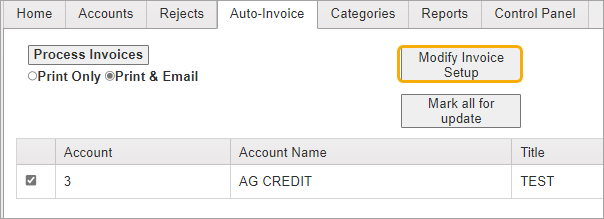
Click Modify Invoice Setup.
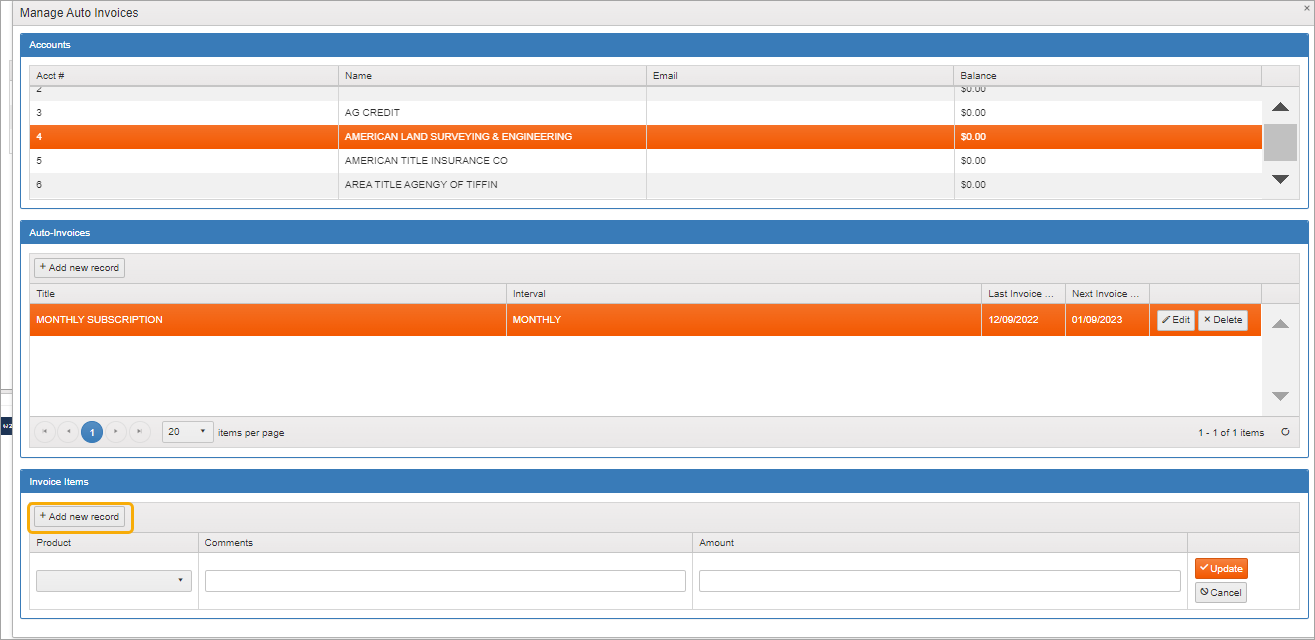
The Manage Auto Invoices dialog opens.
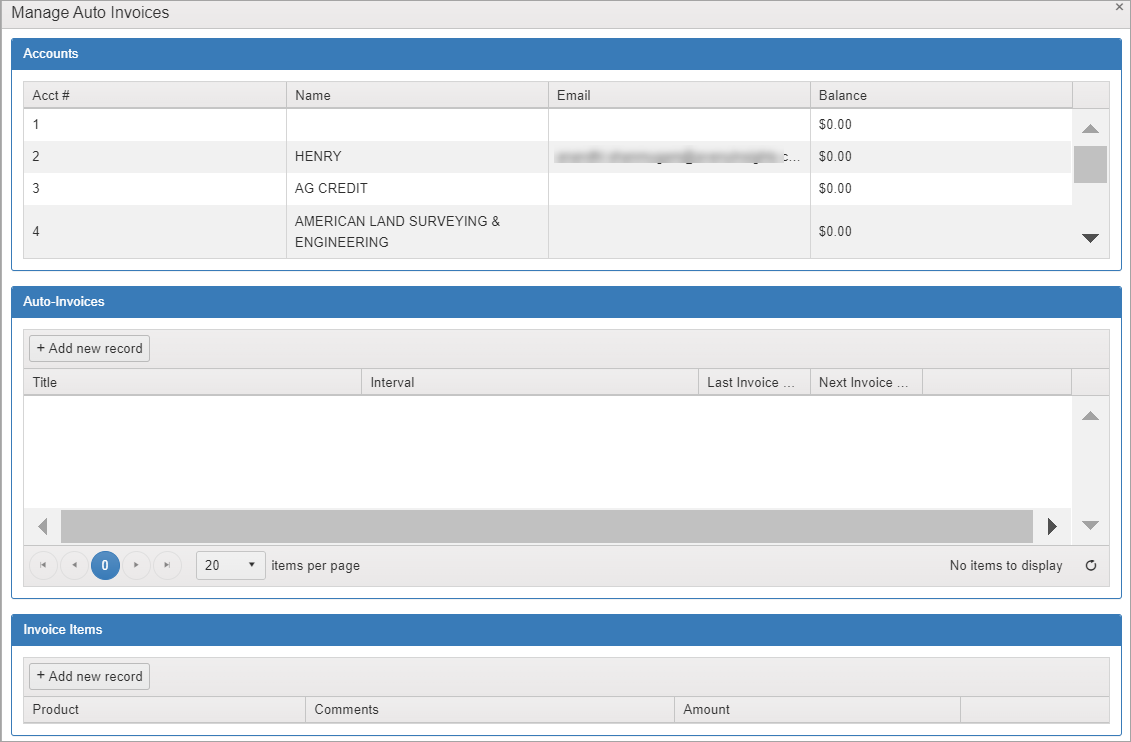
In the Accounts section, click to select the desired account.

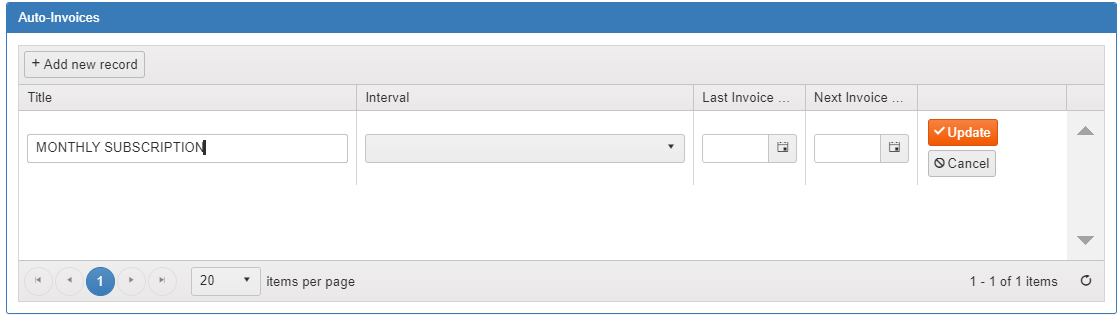
In the Auto-Invoices section, click Add new record.
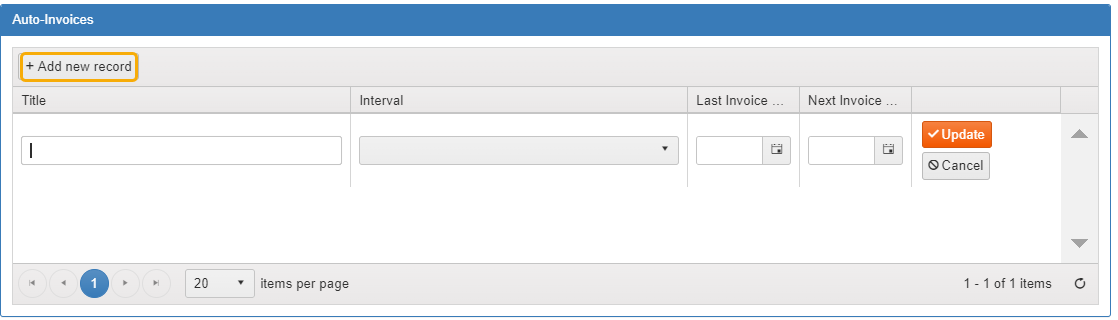
Enter a title such as “Monthly Subscription.”
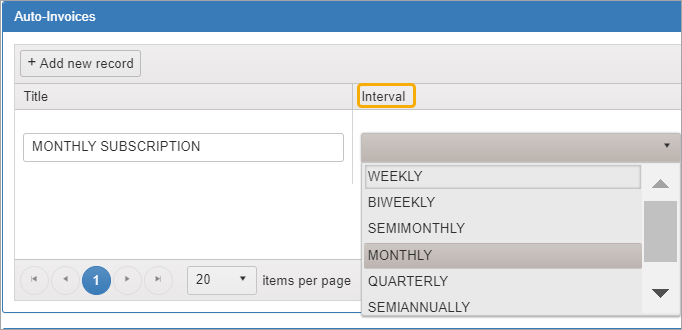
Use the Interval dropdown to select a time period such as Monthly.
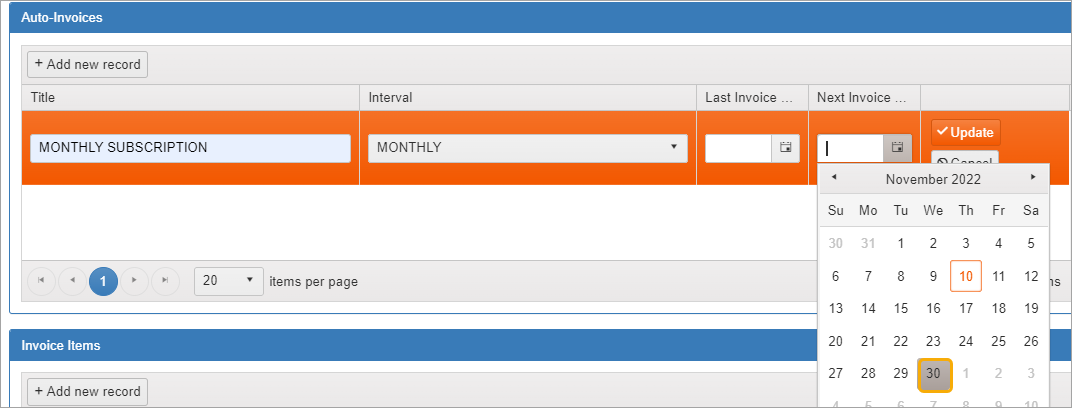
Select the Next Invoice Date using the calendar. The Last Invoice Date can be left blank.
Save the new record by clicking the Update button.
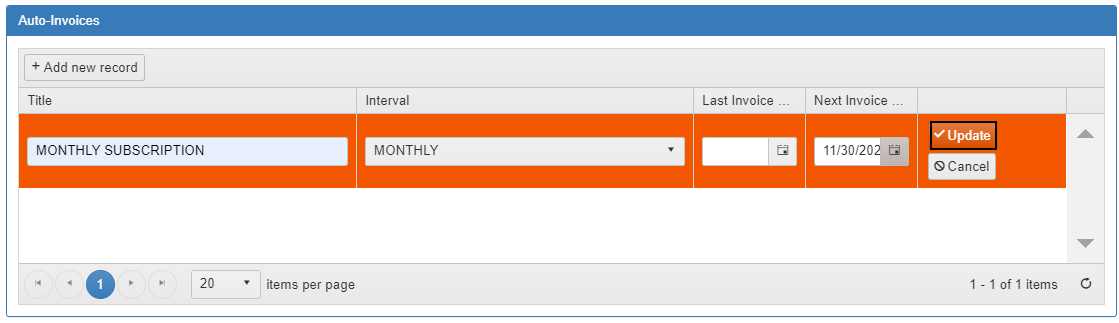
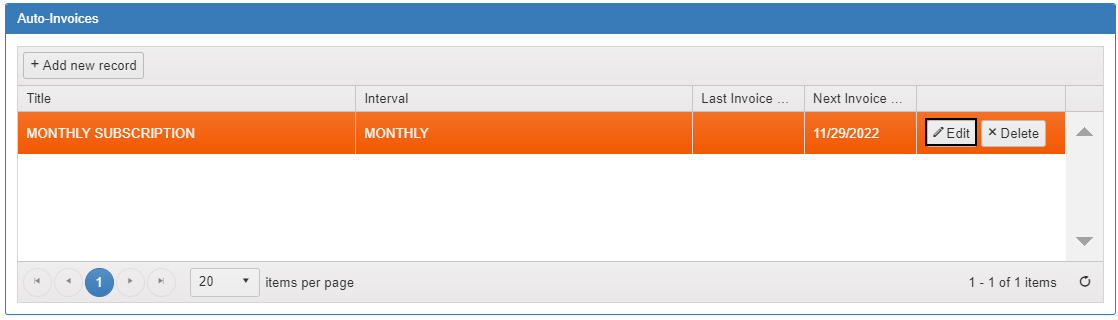
The Auto-Invoice item is added to the pane. Click Edit to make any changes. Click Delete to remove the auto-invoice from the account.
Next, in the Invoice Items section at the bottom, click Add new record.
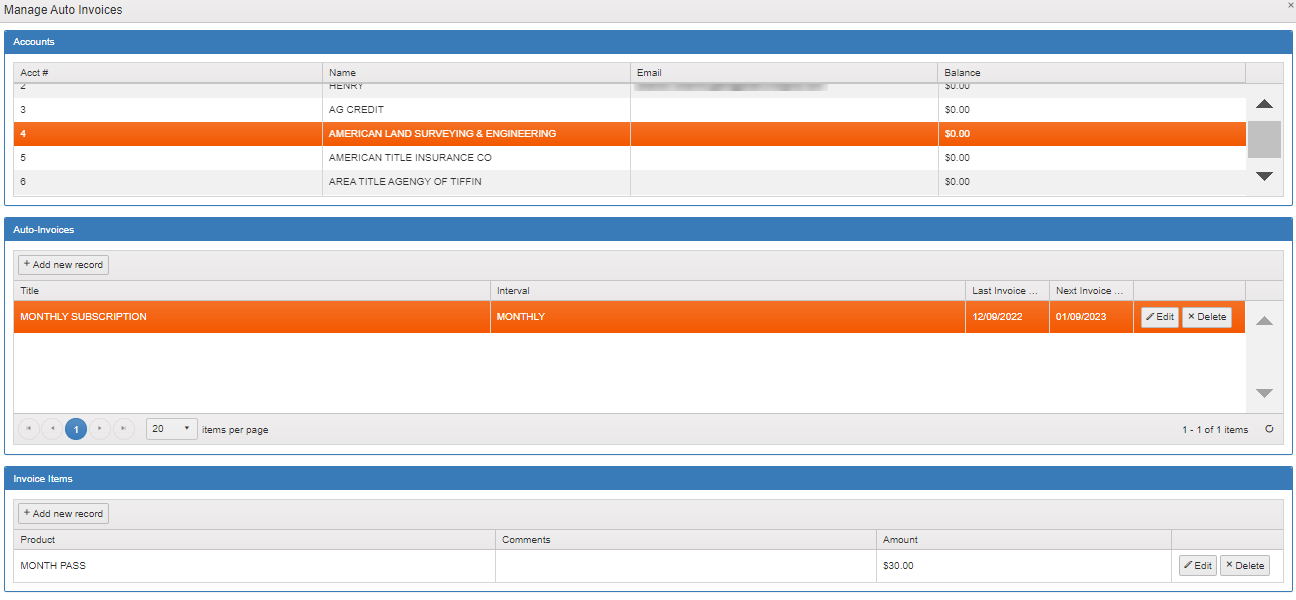
Using the Product dropdown, select Month Pass.

Add a comment if desired. Then click in the Amount field and enter the amount of the monthly pass. Click Update to finalize the item amount.

The screen now shows the added auto-invoice.
For more information, see Accounts Tab.